


Welcome to another sewing project brought to you by the staff of Darn Cheap Fabrics!
This time we thought we’d jump into what has been a temperamental summer season with this gorgeous trans-seasonal jumpsuit pattern from McCalls.
To make this the perfect outfit for going between seasons and temperatures I chose the beautiful linen/cotton blend fabrics for comfortable, breathable wear. I went for a simple, warm, mustard colour, but this jumpsuit could really shine in one of our gorgeous printed linens or one of the many new colours we’ve brought in for the Summer season.

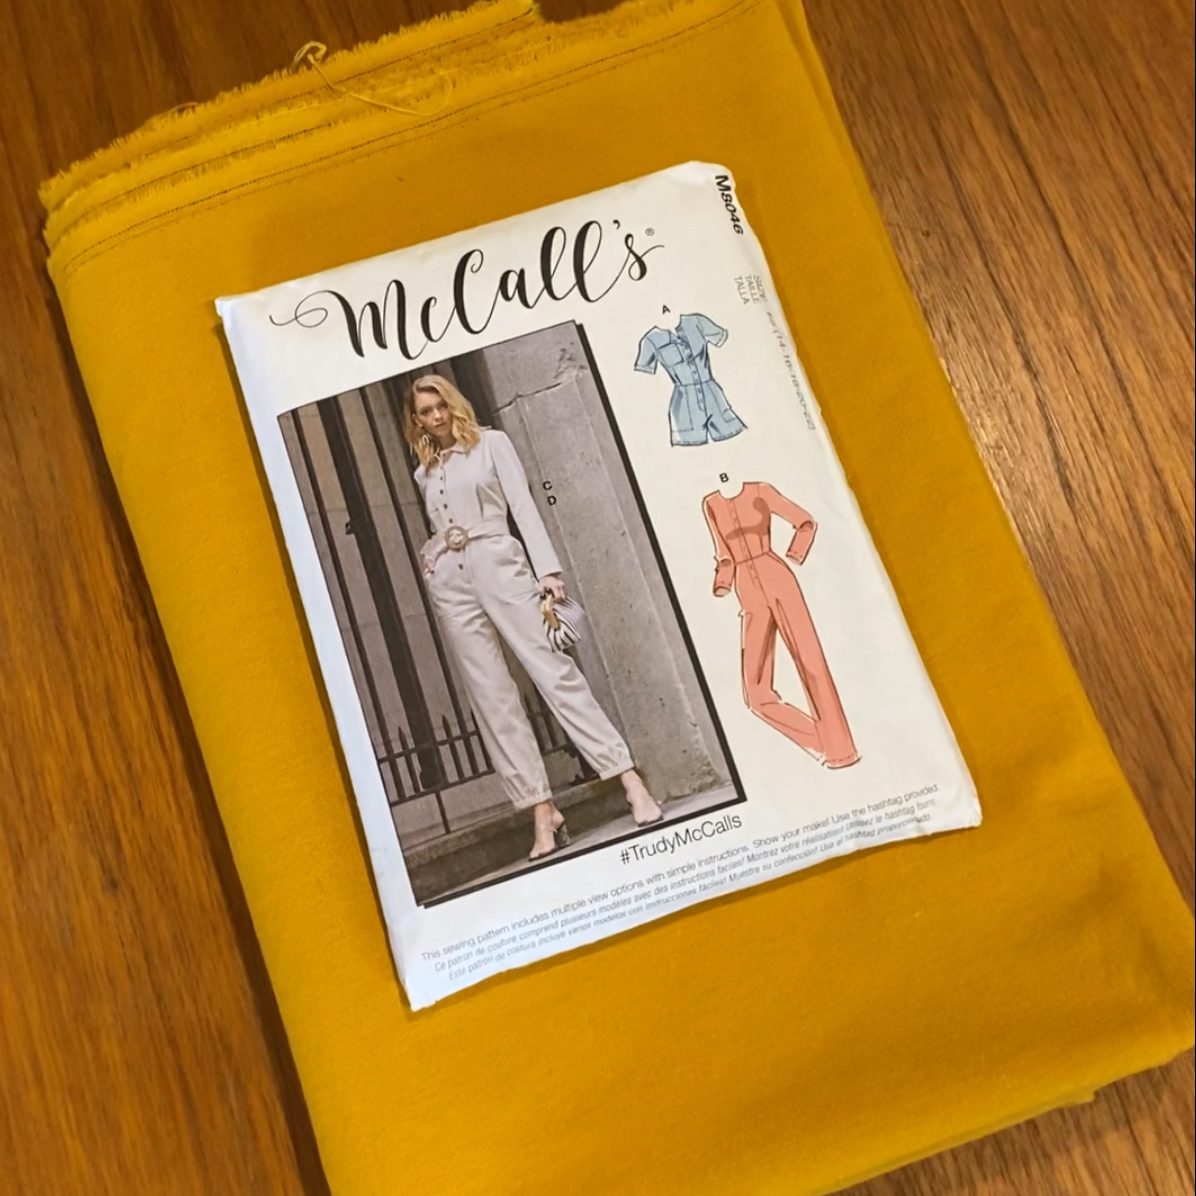
When choosing the right garment size for me, I looked to the finished garment measurements rather than the body measurements. In a previous experience with a McCalls pattern, when basing my size off the provided body measurement bracket, my final garment was too large. Intead, using a measuring tape, I tested the measurements for the final garment on my body and was able to choose my preferred fit.
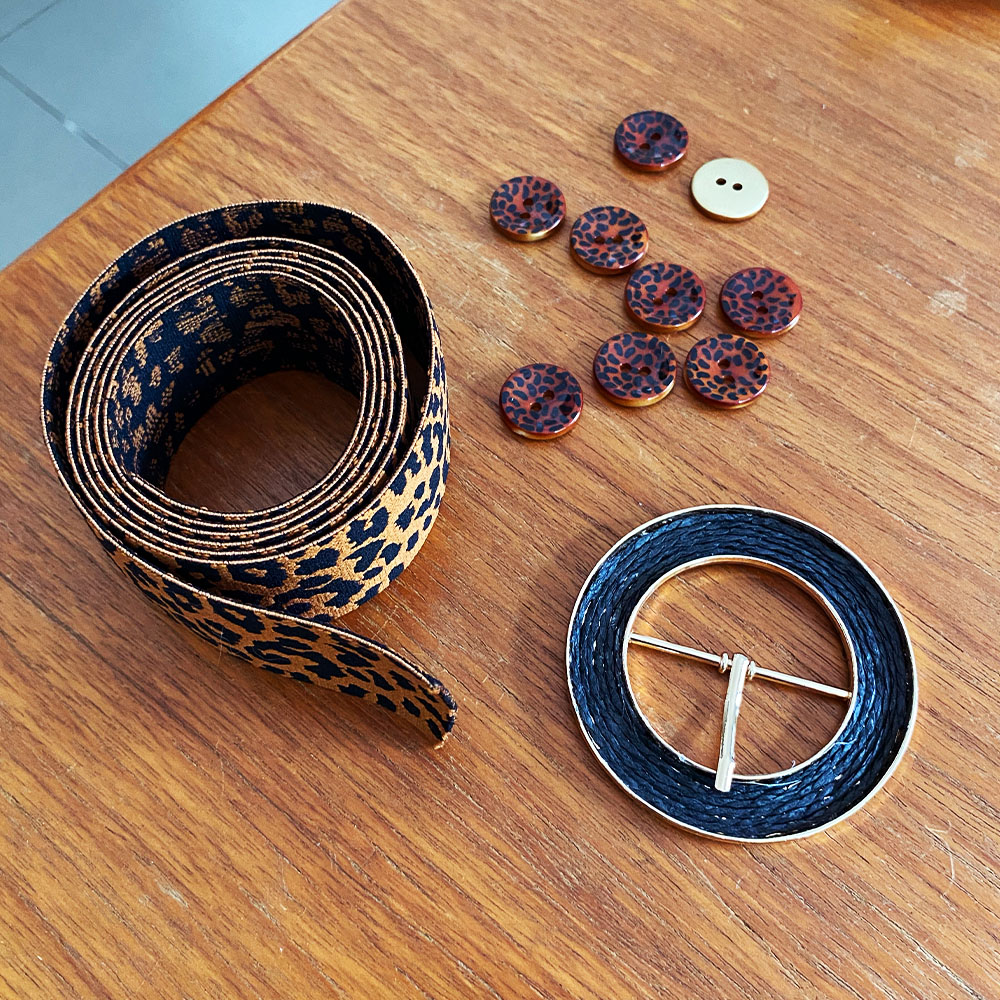
Checking the notions, I also grabbed myself some basic fusible interfacing, universal machine needles size 80 and 25mm elastic for the cuffs. This pattern usually uses the main fabric as a belt but I decided to mix it up with some statement pieces and chose a lovely leopard print elastic for my belt, and matched my buttons to it, along with a gorgeous buckle! I’ve also fallen in love with the extra special touch added by a label so I grabbed a cute little ‘Yes I Made It’ label for my make.

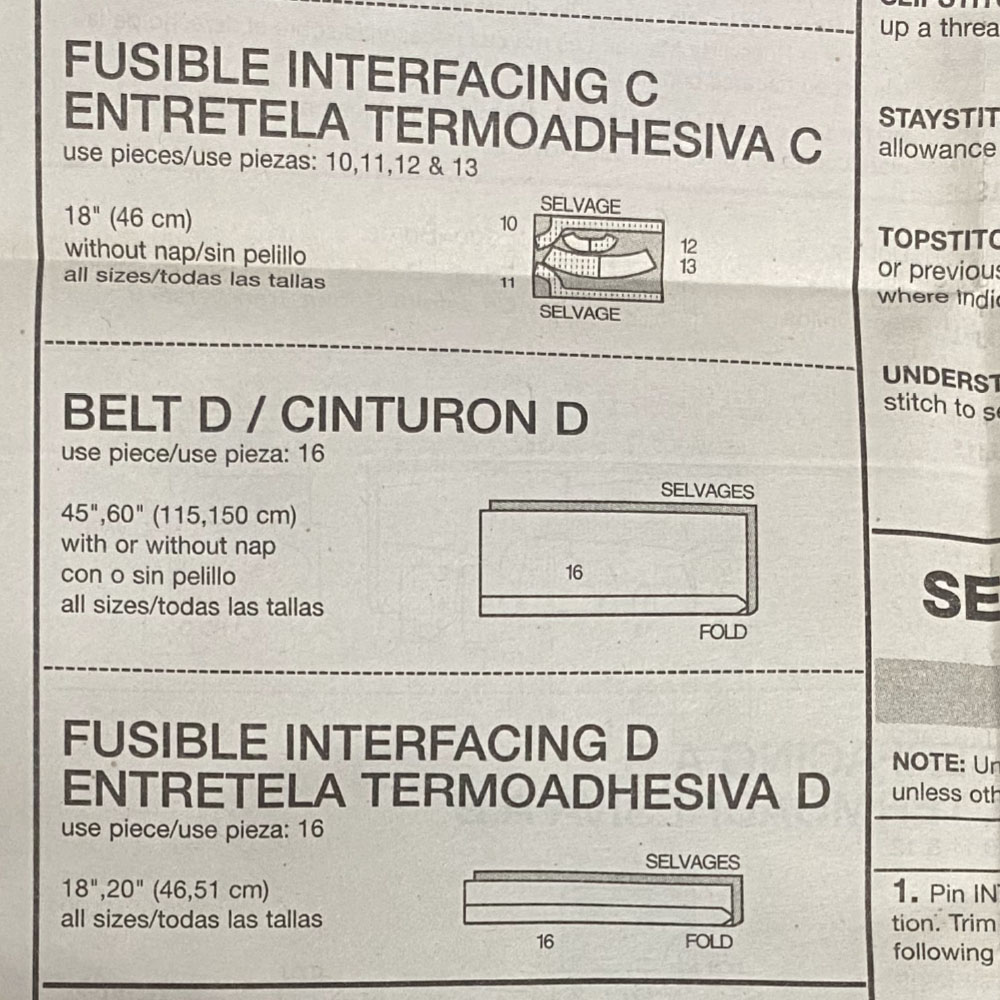
When deciding on the amount fabric for a pattern, its always helpful to have a look at the lay plan suggested in the instructions. I bring this up because this pattern had a particular suggestion for the amount of fabric needed for the belt. I would take note of this if you’re choosing to make your belt out of the main fabric. As you can see in the image below, the lay plan suggests a full length of fabric just for the belt, placing the pattern running with the warp of the fabric. This may have been done because, typically, the warp is the stronger direction of standard woven fabric. But, for me, the amount of fabric wastage from cutting a pattern in this way out-weighs any benefit of having the belt run with the warp. So instead, if I was using the main fabric for the belt, I would cut my belt piece running across the fabric, with the weft, allowing me to tack this pattern piece onto the end of the fabric rather than using a whole length for a small pattern piece (as seen below).
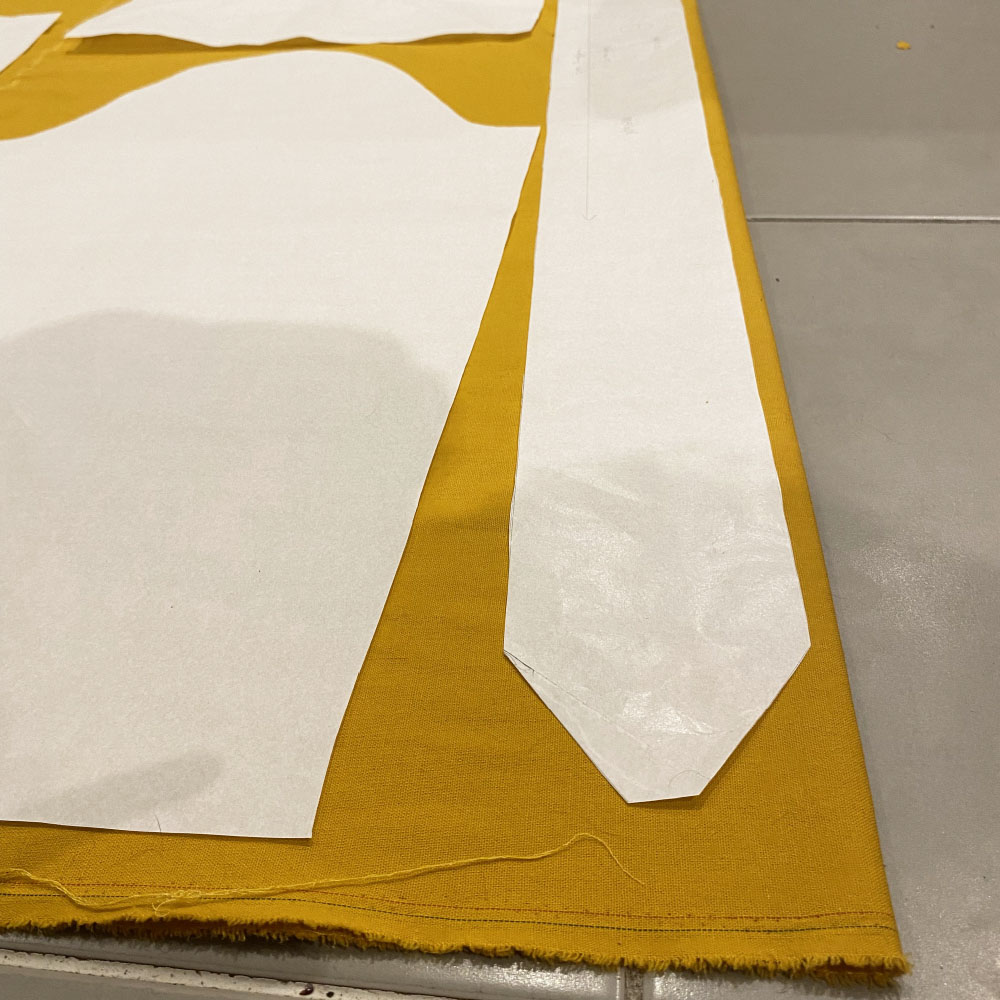
I always prefer not to cut into my patterns in case I want to make other styles or sizes. So, I always trace my patterns. Tracing Vilene is the perfect go-to for tracing off patterns and is much sturdier than paper.
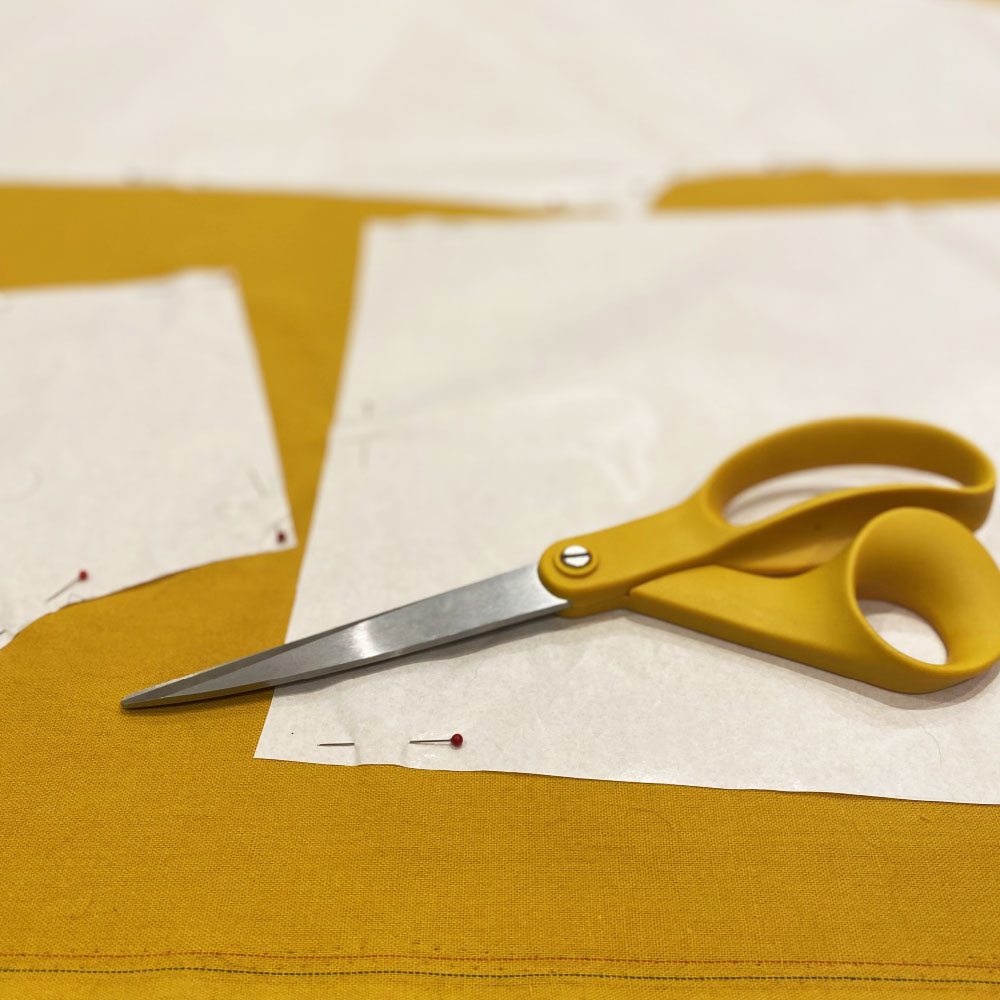
As always, I prewashed my fabric (the same way I will be washing the finished garment from now on) and gave it an iron to be ready for cutting out. I used my trusty Fiskars (the scissors we use in the shop all day) and these wonderfully sharp glass head pins. Time to apply the interfacing and then get sewing!
When purchasing thread from us (if you don’t have a matching thread in your stash already) we have plenty available in store and online. When shopping online we have a handy option to select a matching thread. When you choose this, we find and match the perfect thread to the fabric in your order! Easy! We also have plenty of overlocking threads available online and in store. If the colour you need isn’t online, give us a call and we can find the match you need. I decided to do a fun contrast pink overlocking thread to match my little pink label.
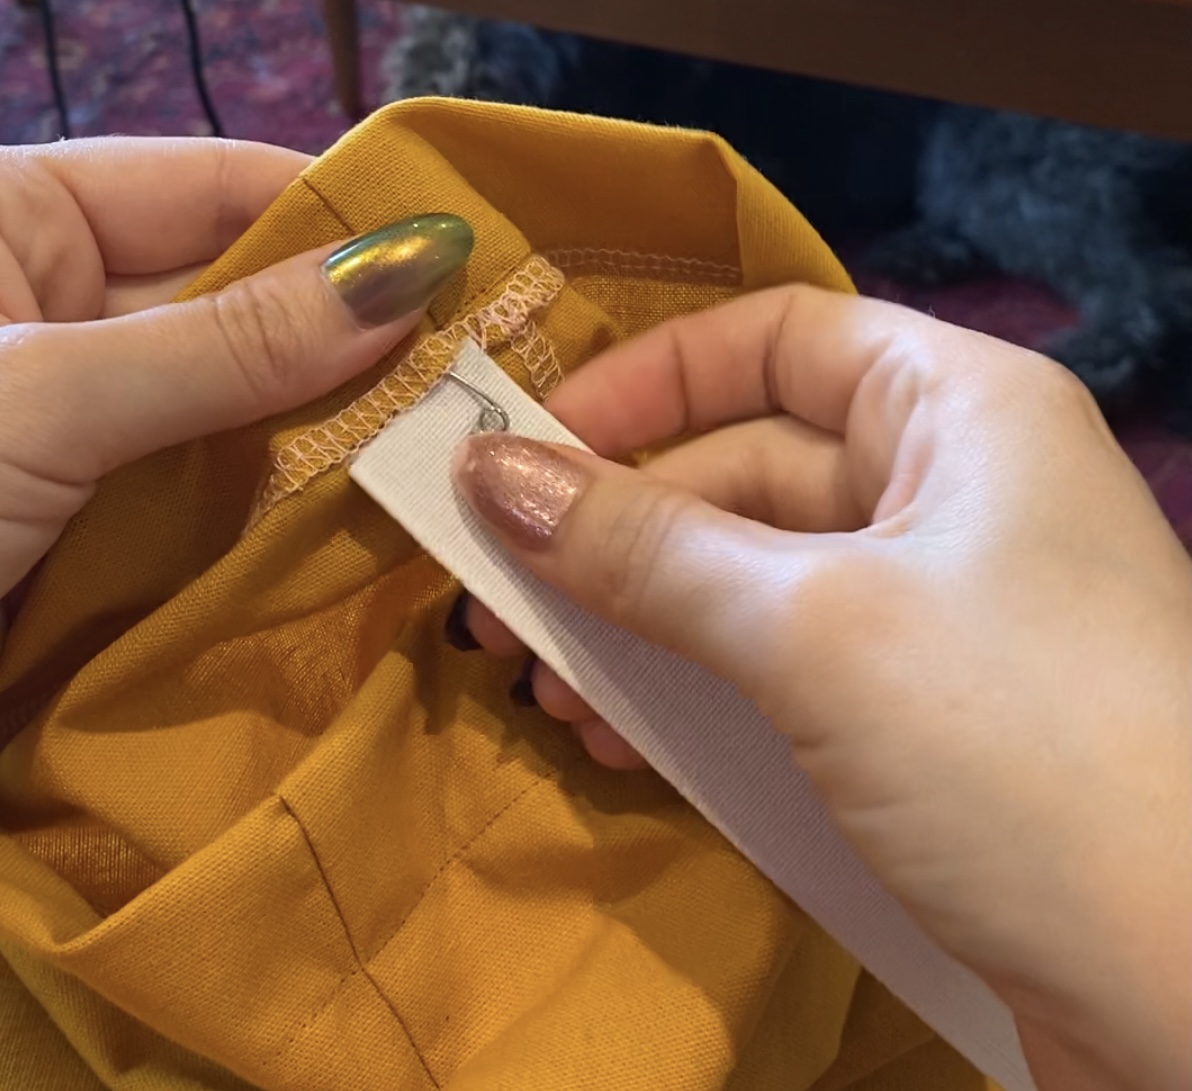
To get the elastic through the cuff channel I popped a safety pin on the end to help with threading the elastic through. Before sewing the elastic I tried the pants on to ensure I was happy with the fit of the cuff.
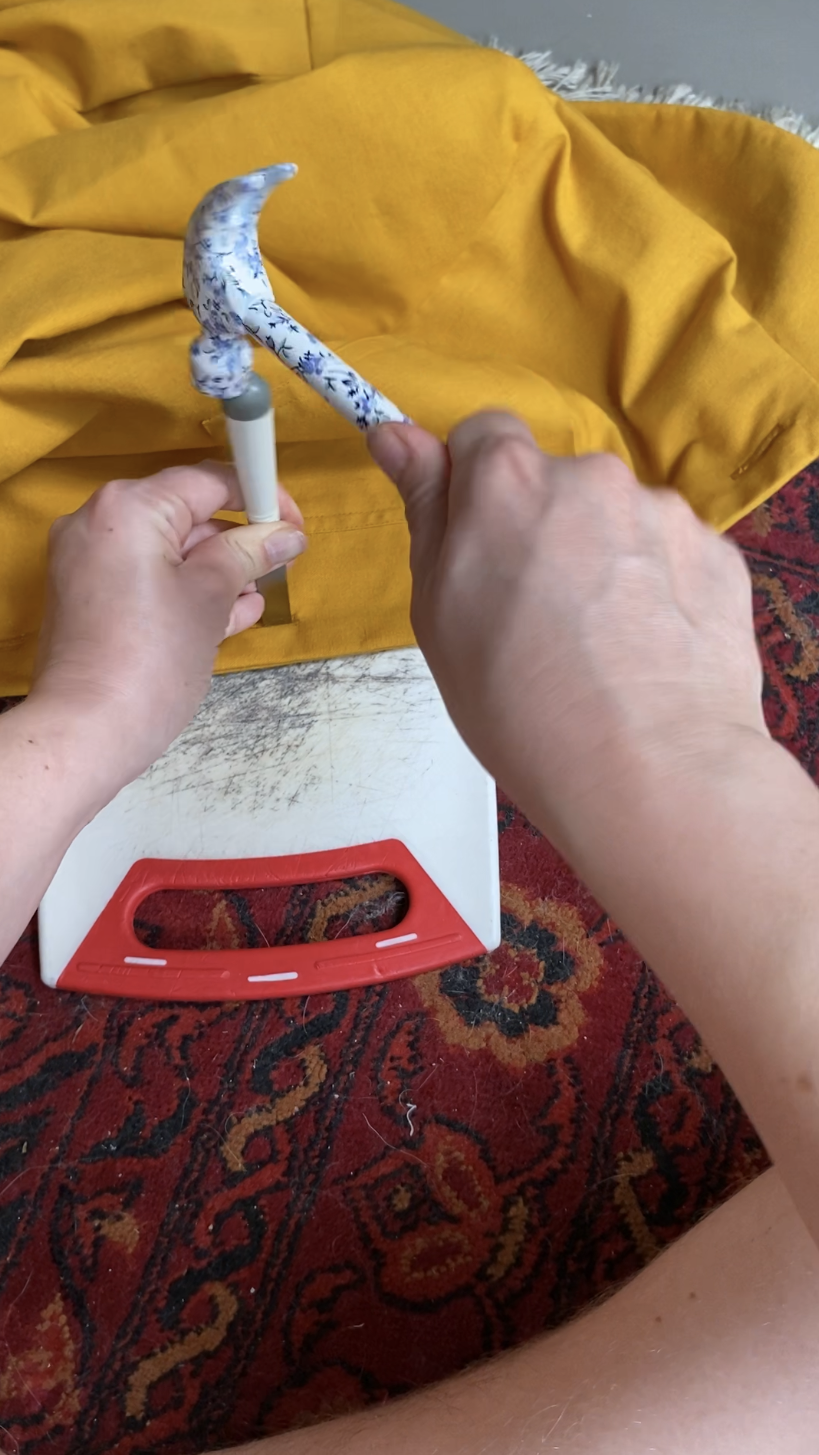
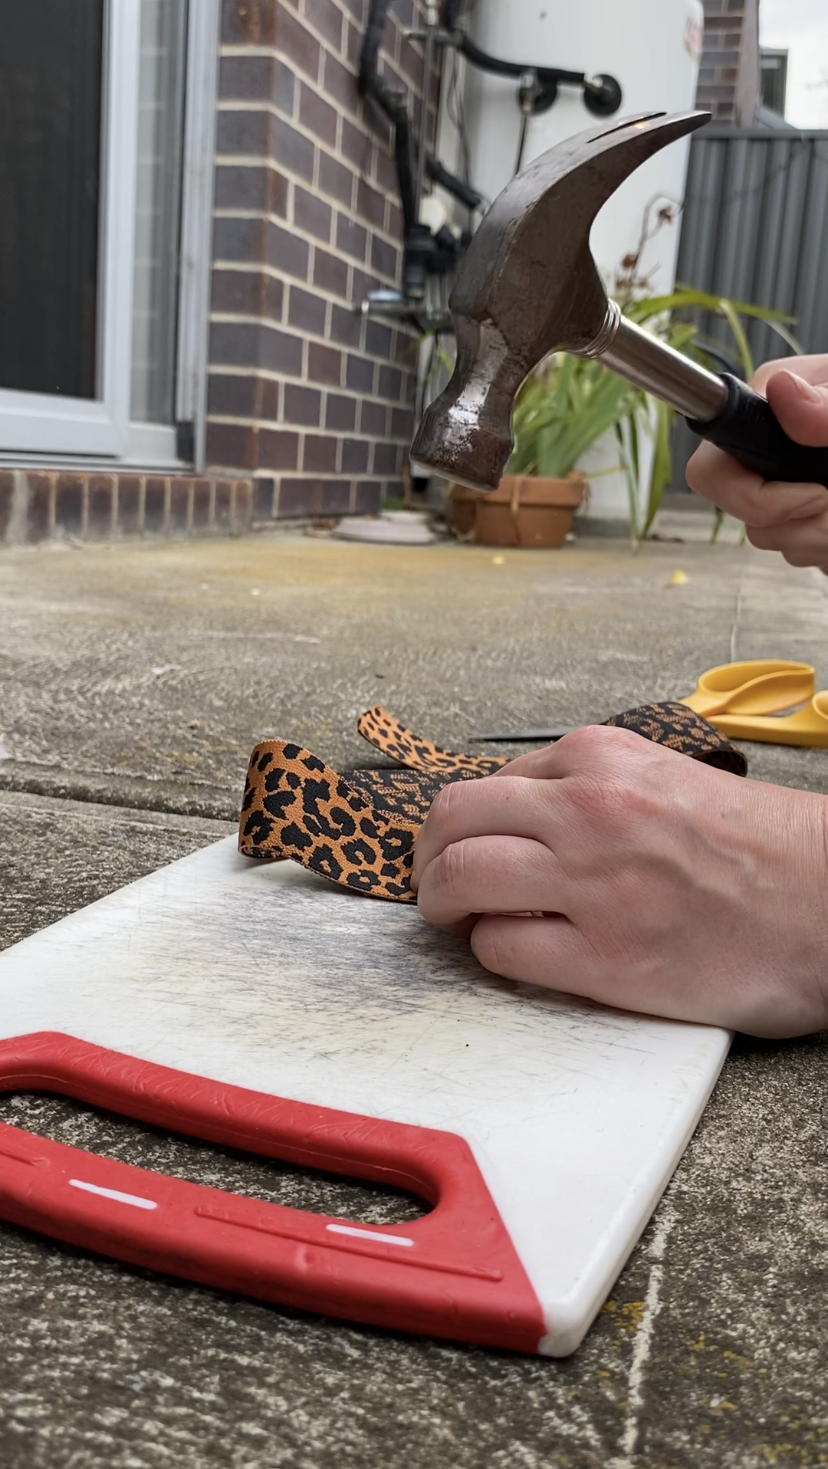
For my button wholes I used the button hole setting on my domestic machine and the extremely handy button hole cutter. I placed the garment on a chopping board and with a few taps of the hammer I’m left with a super clean, straight cut through my button. Much easier than folding the fabric and using scissors. I often find cutting through a few layers this way with scissors sometimes leaves my button hole cuts wonky. This tool solves all my problems.

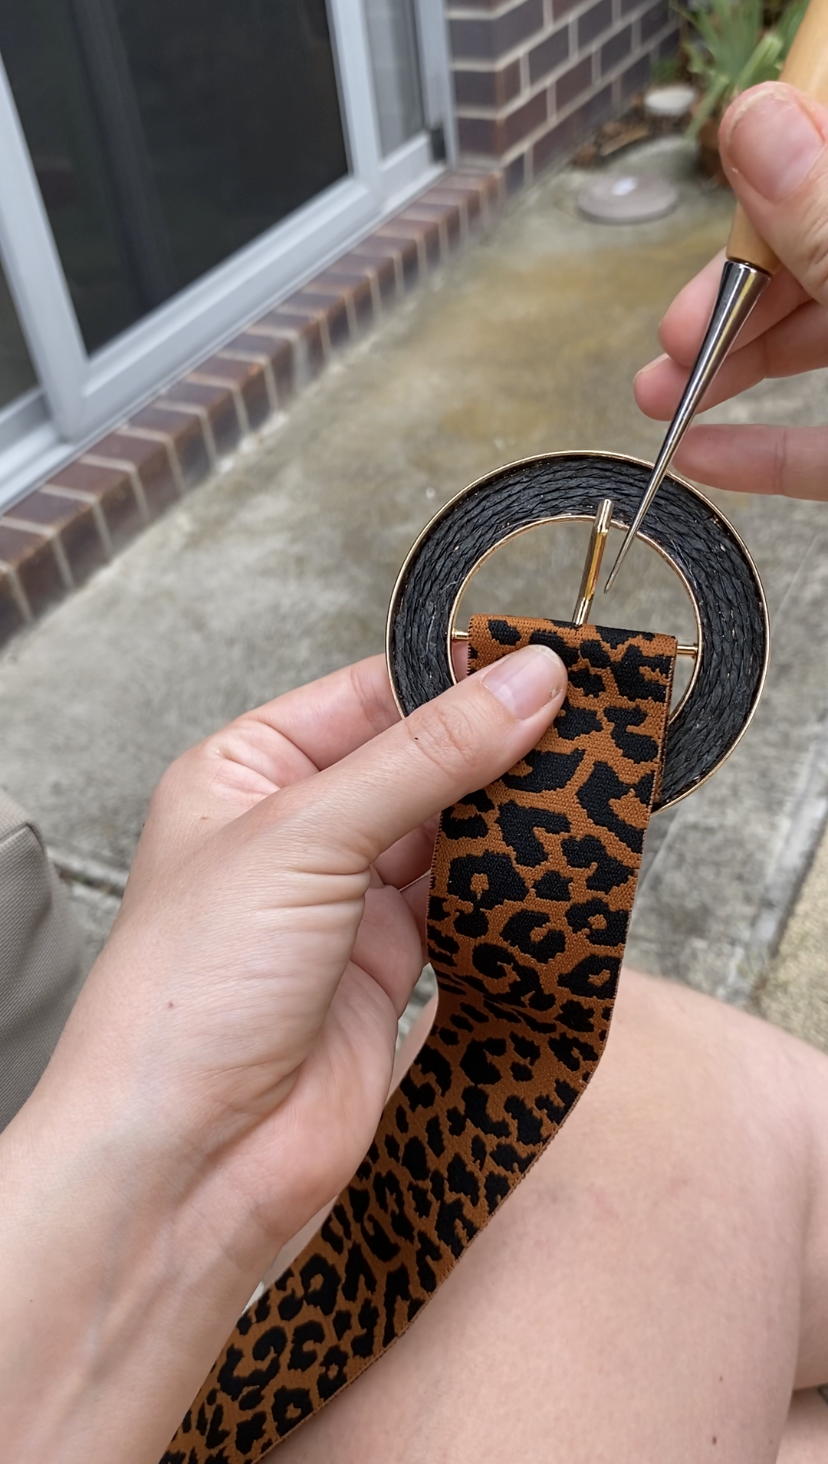
Finally, I made the belt using all the fun little trimmings. I used an awl to make a small hole where the pin of the belt would go through. Once the belt pin was through I decided to quickly run a lighter over the hole to seal off any fly aways created by the puncture in the elastic. If you choose to do this, be very careful, as the metal of the belt can become hot and the polyester can melt and burn. Proceed with caution!
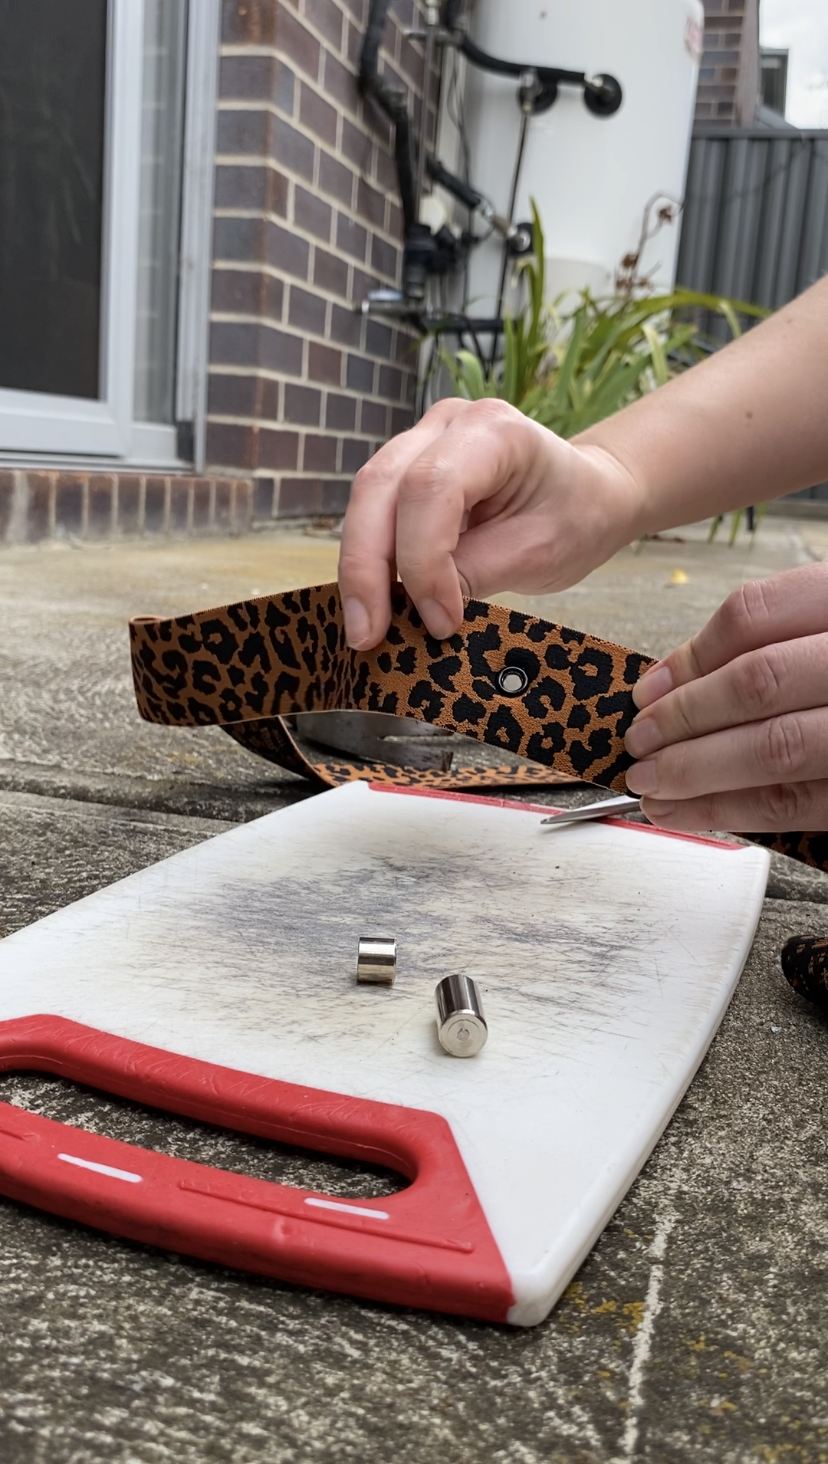
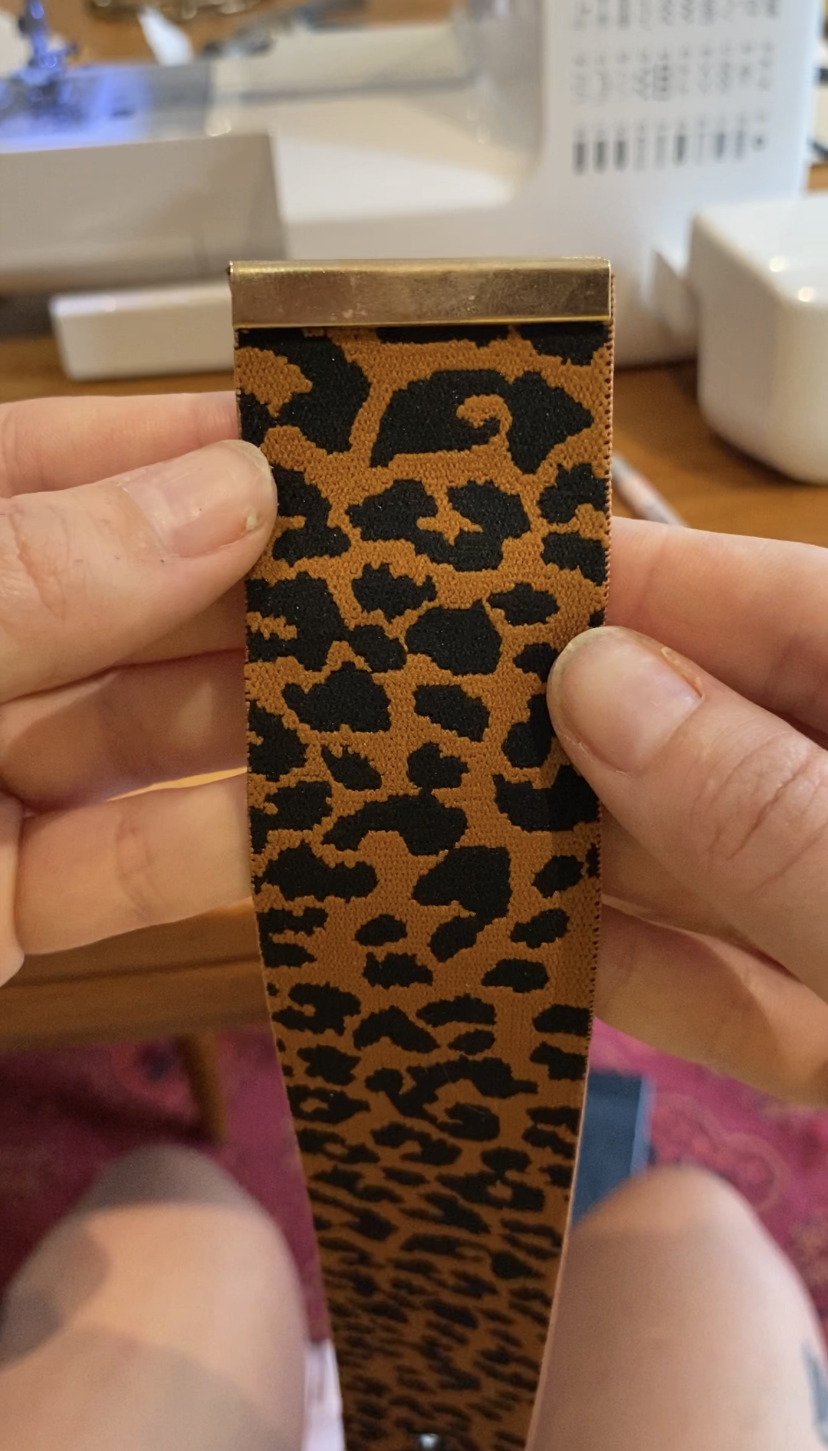
I then added in some eyelets with the useful tool in the packet. First, I tried the belt on over the garment to work out where the belt holes should be placed. I then cut in a small notch with my scissors and inserted the eyelets. To finish off the belt I added on this extremely cool belt tip which gives a really professional finish to the end of my belt while also securing the raw edge of the elastic.

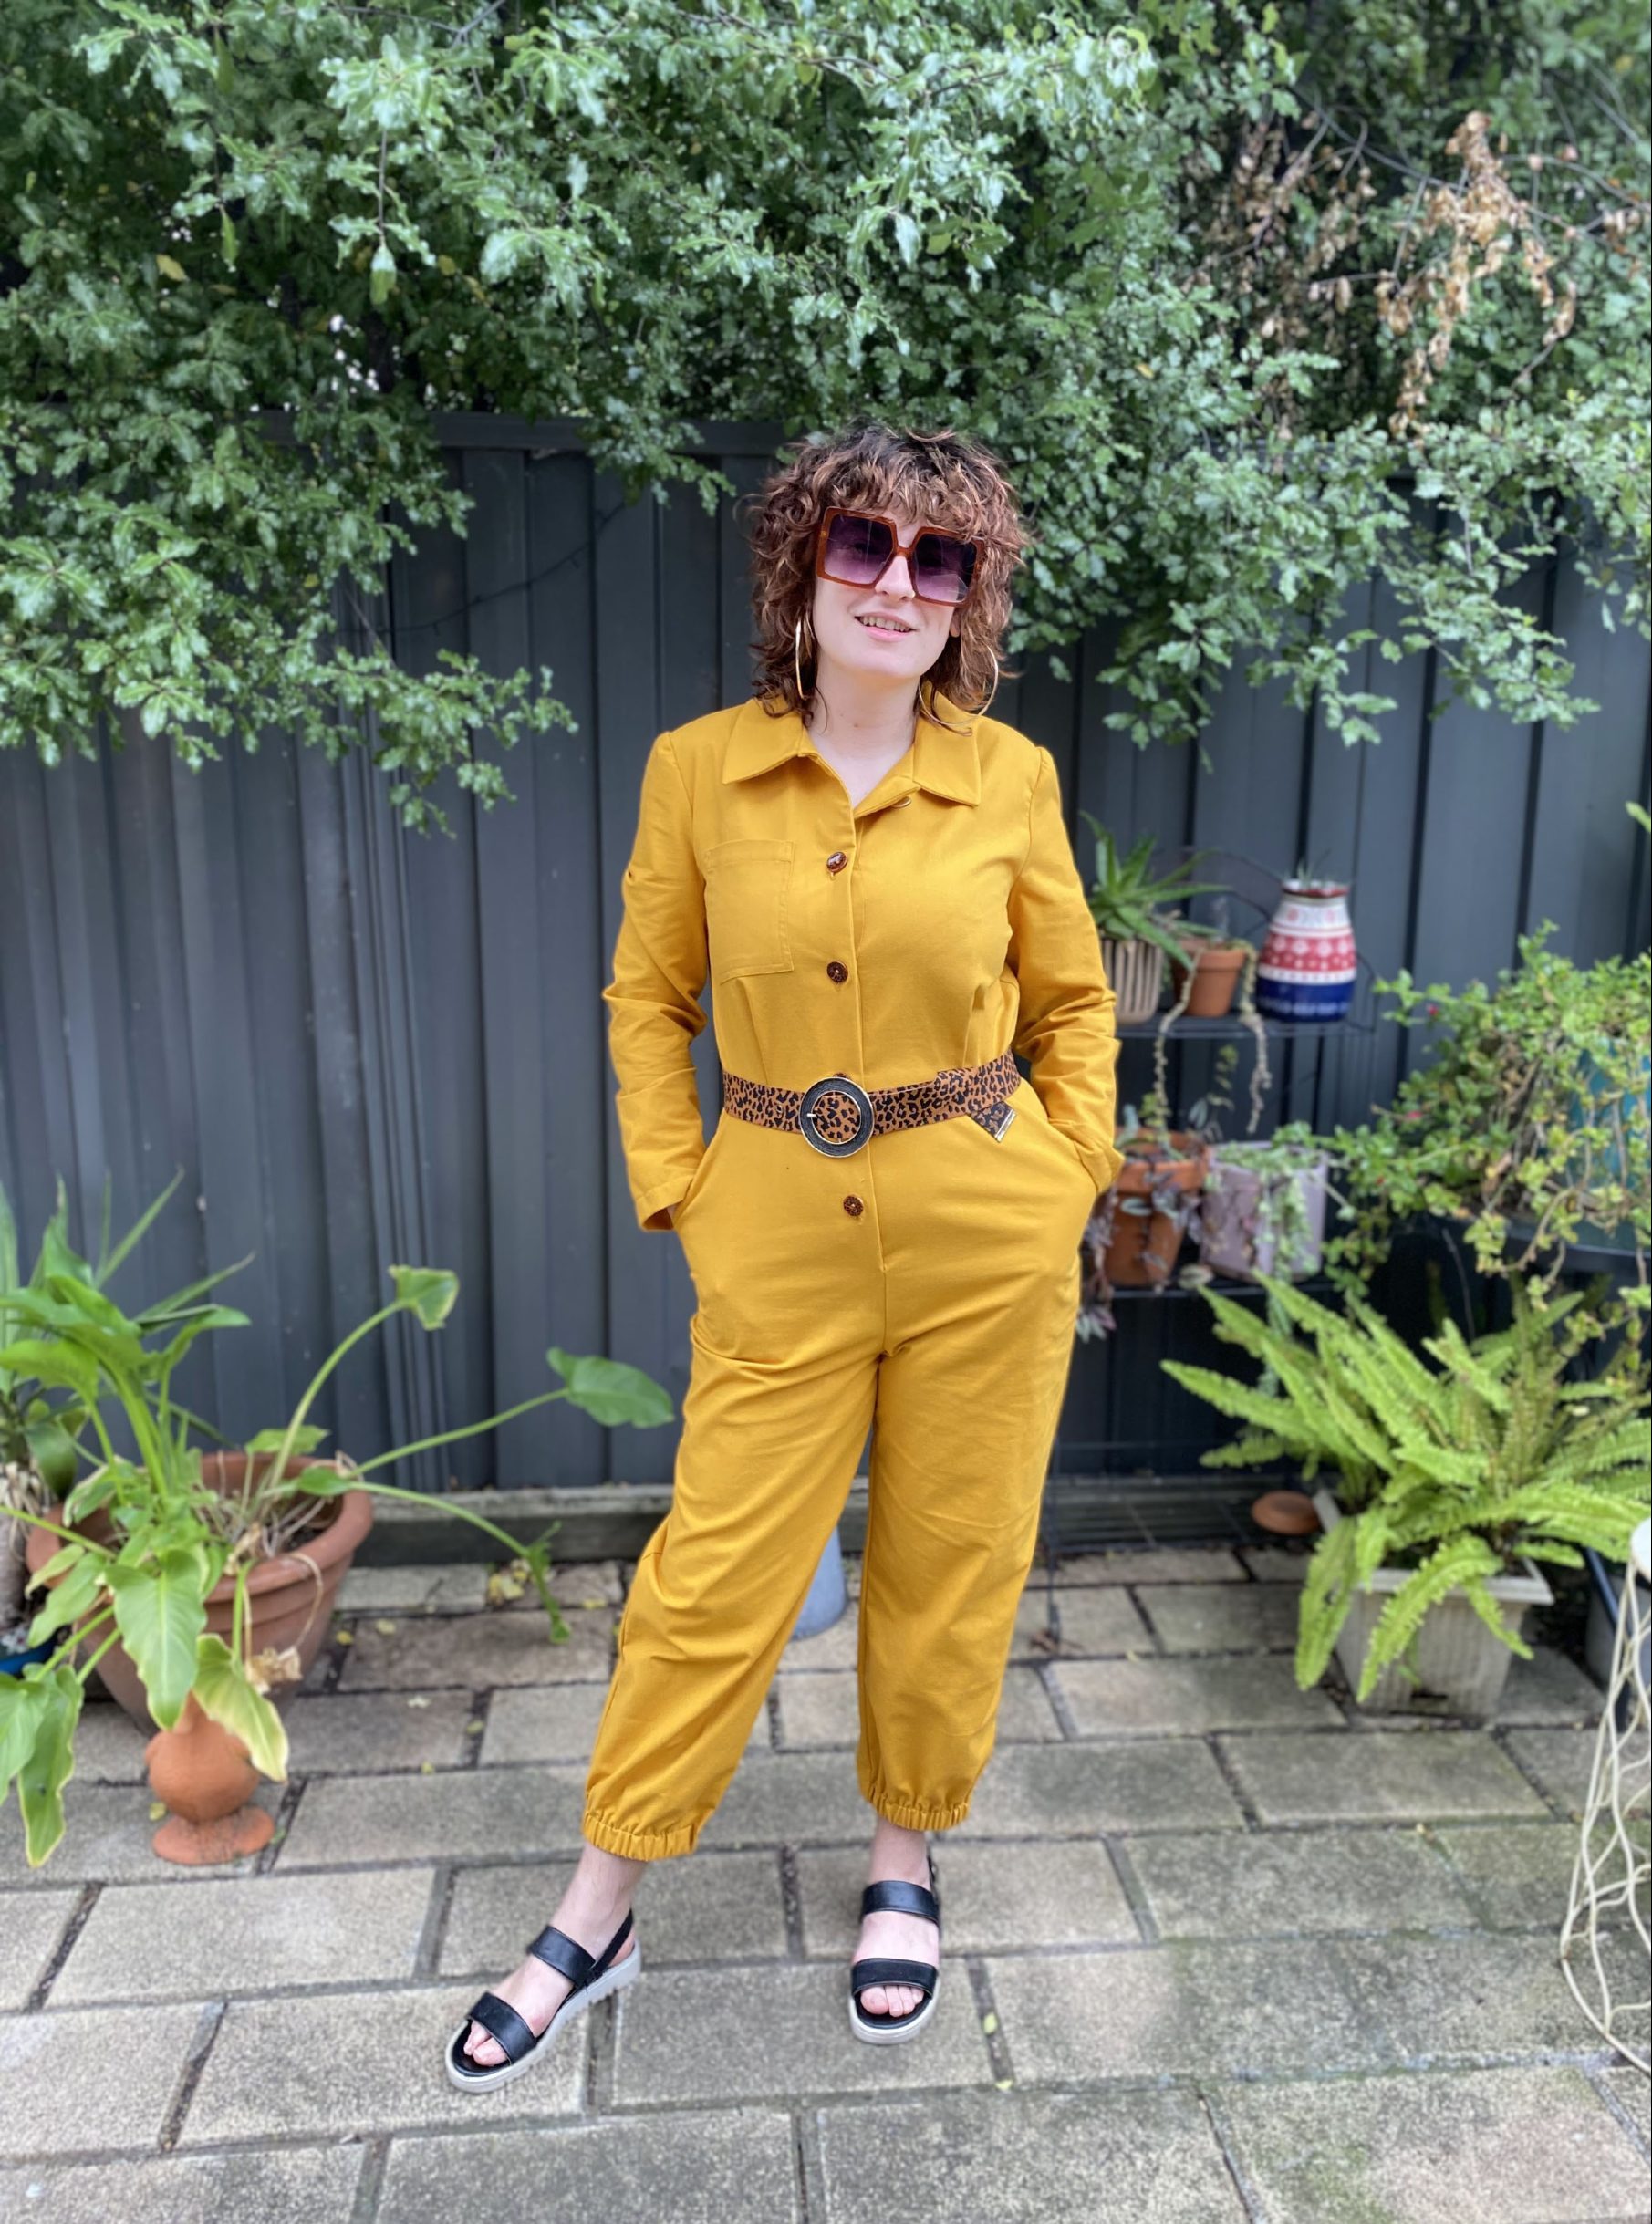
And now the jumpsuit and belt is all done! A dreamy, comfy, breathable outfit, perfect for a year where who knows what the weather will bring! If you make a jumpsuit of your own, make sure to tag us on instagram, we love to see what you create. You can also see a video of the whole process of this jumpsuit on our instagram and our tiktok, so you can watch along with each step of the making. Check out the final outfit below!
Happy sewing everyone!
Leave a Reply